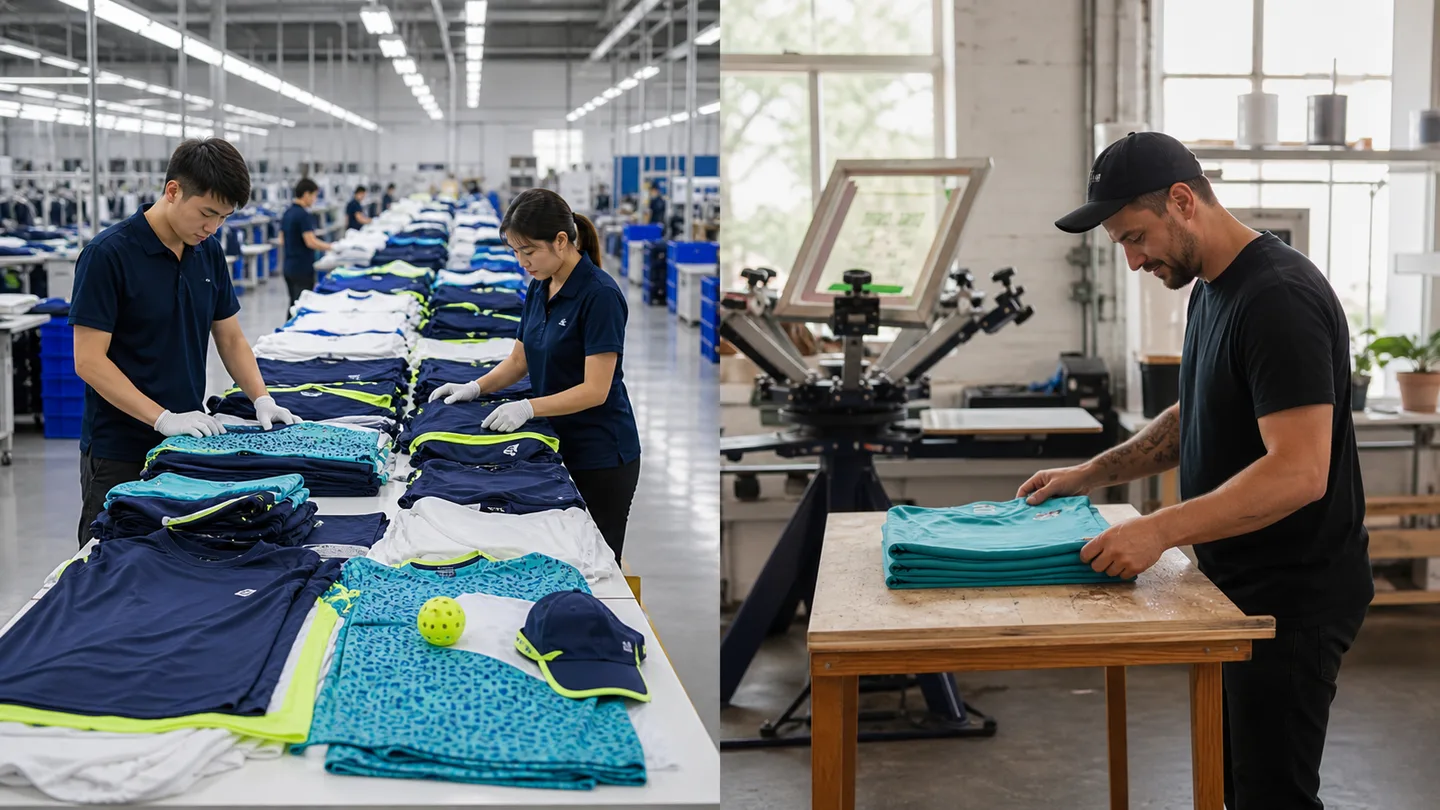

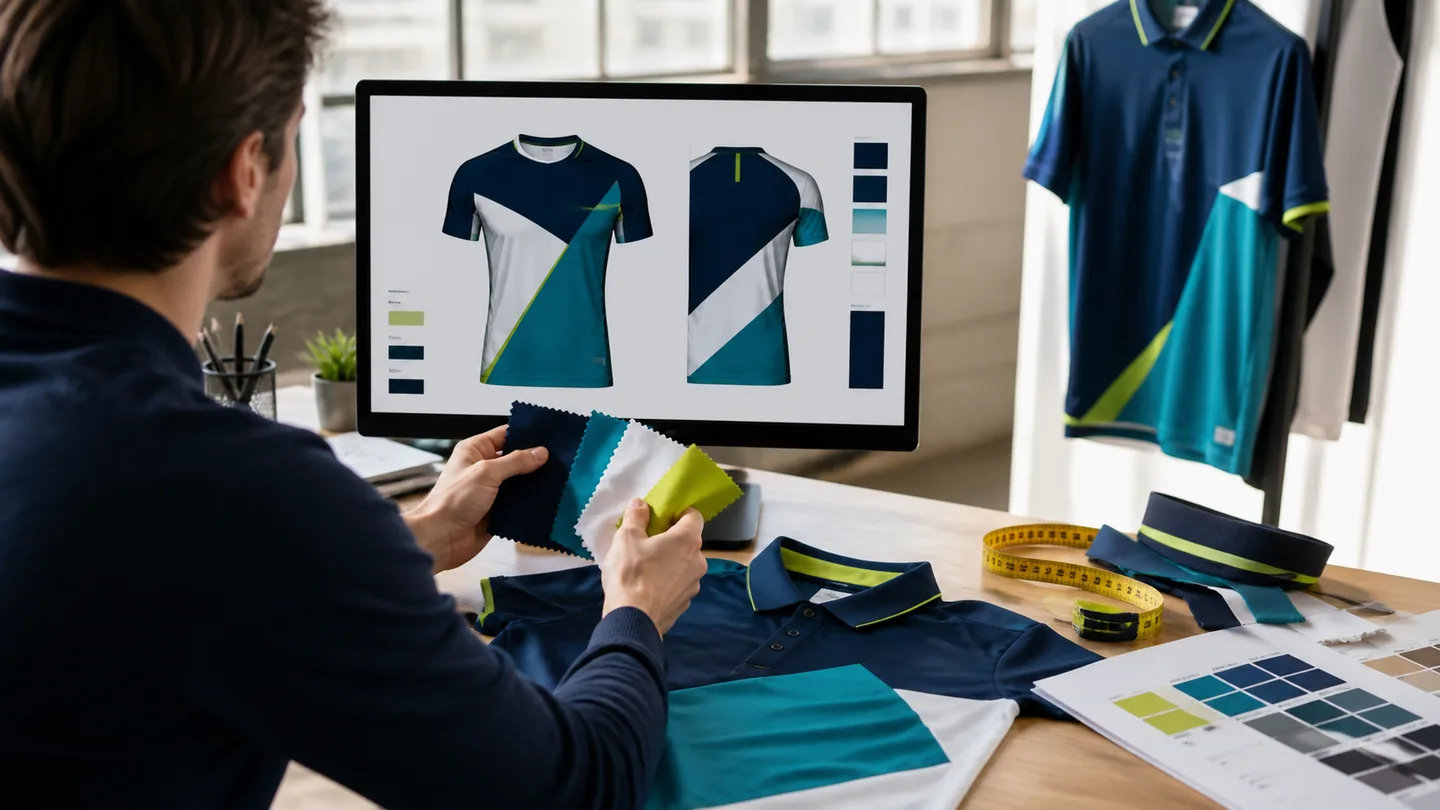
Designing custom pickleball shirts isn’t a graphics exercise – it’s a sequence. Fabric first, then fit, then artwork. Most buyers do it backwards: they fall in love with a logo, pick a color, and then spend the rest of the project fighting the garment. Do it in this order and the whole thing gets easier and cheaper.
Here’s the guide we give every club and brand that comes to us with a design in their head and no idea where to start.
Pick the Fabric for Custom Pickleball Shirts First
Your shirt’s fabric decides how it feels during a match, how it handles sweat, and which printing methods are even available. Skip this step and you’ll be redesigning later.
For pickleball, polyester is the default, and for good reason. It wicks moisture, dries fast, and takes sublimation ink better than anything else. If you’re playing indoors or in a cooler climate, a lighter polyester or a poly-blend works. If you’re outside in summer heat, look for mesh panels or a lighter weight.
Think in terms of use, not fabric names:
- Year-round outdoor play: midweight polyester with good coverage
- Summer tournaments: lighter weight or mesh-back panels
- Casual club wear that doubles as everyday shirts: a poly/cotton or tri-blend, which feels softer but won’t take sublimation as cleanly
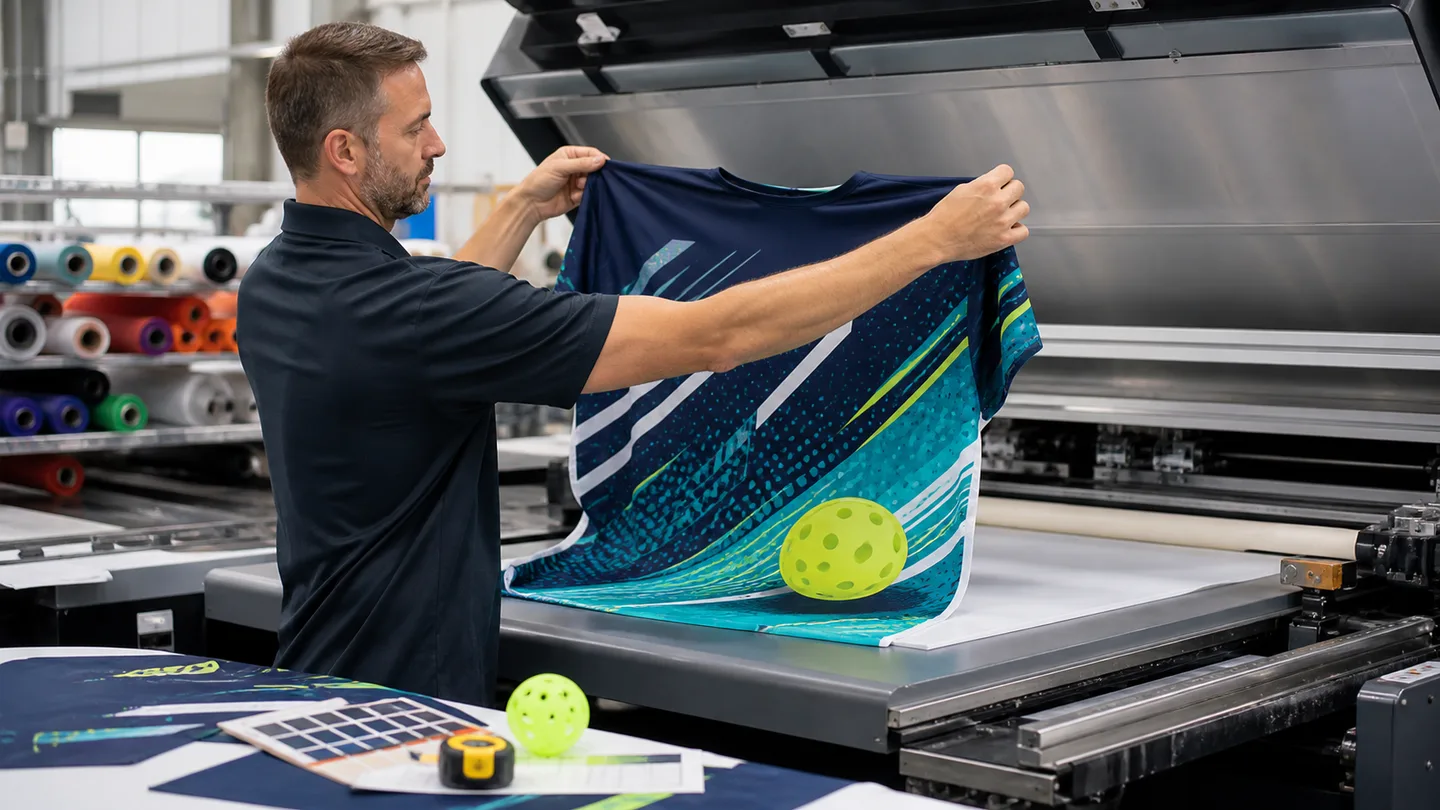
One rule matters early: sublimation dye bonds to polyester, not cotton. It can color the polyester portion of a blend, but the result is usually softer and less saturated than a high-polyester fabric. Choose compatible polyester for crisp all-over color. Choose a blend with screen print, transfer or embroidery when hand feel matters more than full-coverage print. If you are still comparing methods, review sublimation versus screen printing.
What an Athletic Cut Means
“Athletic cut” and “slim fit” get thrown around a lot, but they mean different things to different suppliers. Before you pick one, know your players.
Pickleball rosters are unusually wide – from former tennis players in their twenties to retirees playing four times a week. One default fit won’t serve everyone, so start with a simple question: does this shirt need to perform, or just look like a team?
If it needs to perform – matches, tournaments – a slightly athletic cut with room in the shoulders and armpits is right. Players need to reach and swing without the shirt pulling or riding up. If it’s mostly a club shirt for casual rounds and social events, a relaxed cut is more comfortable and more forgiving across body types.
Details worth checking on the spec sheet, not just the size chart:
- Shoulder width and sleeve length, not only chest and body length
- Collar style – crew, V-neck, or sport collar – and how it sits on the neck
- Whether the shirt runs true to size or small (this varies by factory; always ask)
Get a blank or fit sample before approving the size list. Trying on the actual pattern reveals shoulder mobility, body length and ease that a size chart cannot show.
Artwork Setup: File Types and What to Avoid
When a factory asks for “vector artwork,” here’s what that means and why it matters.
A vector file – AI, EPS, PDF, or high-resolution SVG – stores your logo as math, not pixels. That means it scales from a chest logo to a full back print without losing sharpness. Raster files – JPGs, PNGs, photos – are made of pixels and go fuzzy the moment you enlarge them.
If all you have is a PNG or a screenshot, don’t panic. Send the highest resolution version you have and tell the factory up front. Most will redraw or clean it up for a small fee, and it’s money well spent – a redrawn logo prints crisp where a stretched screenshot prints soft and sad.
What to avoid in your artwork:
- Low-res logos pulled from a website or social profile
- Screenshots with watermarks or compression artifacts
- Text that’s baked into a flat image instead of editable type
- Designs built around colors that don’t print well (more on that below)
One more habit that pays off: build the shirt around the art, not the art around the shirt. If you’re adding names and numbers, decide where they go before you finalize the main design, so everything has room and nothing has to be squeezed in later.
Keep embellishment in mind early. Embroidery, a raised stitched logo, is a different finish from print and changes how much detail the mark can hold. Tiny text and fine lines may not embroider cleanly, while bold marks translate better. Decide between print, embroidery or a mix before locking the design.
Placement: Where Logos and Numbers Go
Placement sounds obvious until you realize how many spots there are to put things – and how placement changes once the shirt is on a body.
Common spots for custom pickleball shirts:
- Left or right chest: small logo, the most common choice
- Center chest: larger, more prominent mark
- Full front: all-over or a big graphic
- Upper back: names
- Back number: numbers, if your league requires them
- Sleeves: sponsor logos or small team marks
The mistake to avoid is treating the flat mockup as the finished product. A logo that looks centered on a flat shirt can sit oddly once it’s stretched over shoulders and a torso. Good factories place artwork against the actual garment pattern, so trust their placement guidance over your screen preview.
Also think about layering. If players wear a jacket over the shirt, chest and back logos remain more visible than a mark hidden on the sleeve.
Colors That Read on Court
Color is where a lot of shirt designs quietly fail. A color that looks sharp on a monitor can look flat or muddy on fabric, especially after a few washes.
Rules that hold up:
- High contrast reads best from across the court – light on dark or dark on light.
- Avoid mid-tone on mid-tone; a medium blue logo on a medium gray shirt vanishes.
- Neon and bright colors pop on white or very light fabric, less so on dark.
- Sublimation does not add opaque white ink; white details come from unprinted areas of a white base fabric.
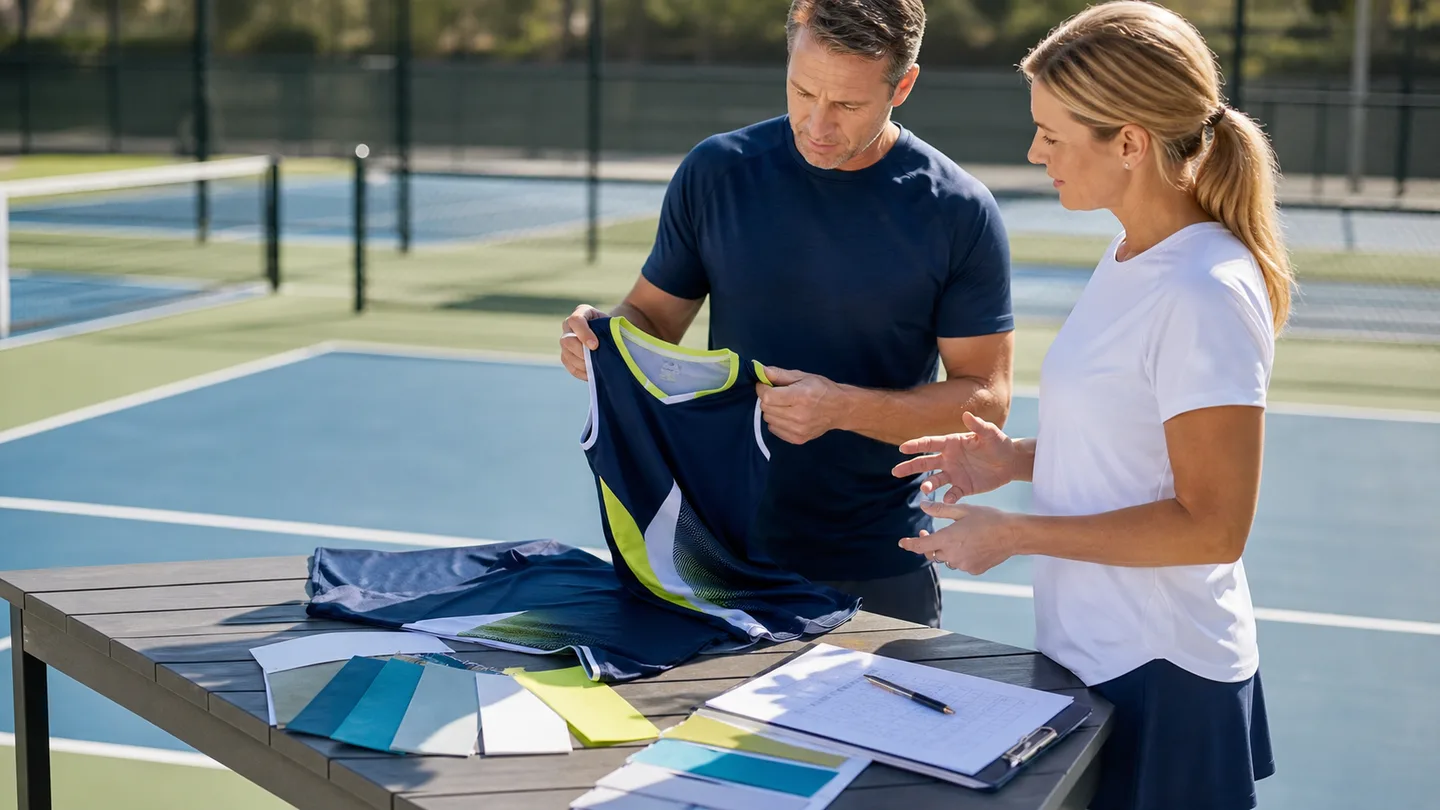
Ask your supplier to show you colors on an actual fabric swatch, not just a screen preview. Screens lie. Fabric doesn’t. A quick swatch check at the start saves you from approving a color you’ll regret at pick-up.
Proofing and Sampling Before You Commit
This is the step that separates smooth orders from disasters: the proof and the sample.
A digital proof is a mockup of your design on the shirt. Review it like you’re being paid to find mistakes – spelling, spacing, placement, colors, everything. This is the version you’re approving, and it’s what production will follow. Once you approve it, changes get expensive and slow, so this is where you slow down, not during the design phase.
If the order is large or the design is important, ask for a physical pre-production sample. It costs a little and adds a few days, but it catches what a screen proof can’t: color shifts, fabric feel, and placement on a real body. For big runs, a sample is cheap insurance.
A final practical note: put one person in charge of approvals. Committees approving by email are how typos slip through and deadlines slip. One decision-maker, one approval, one clean order.
Start with the fabric, end with the approval.
Custom pickleball shirts go wrong when buyers skip ahead – picking colors before fabric, finalizing art before fit, and approving a proof without reading it. Work the sequence, ask for samples, and let the factory handle the technical decisions.
Once the design is locked, the custom pickleball jersey ordering process covers sizing, approvals and what to send.
If you have a rough idea and a team to outfit, contact AX Pickleball. Share the use case, quantity, target fit and delivery market so the artwork can be developed around a real garment specification.