
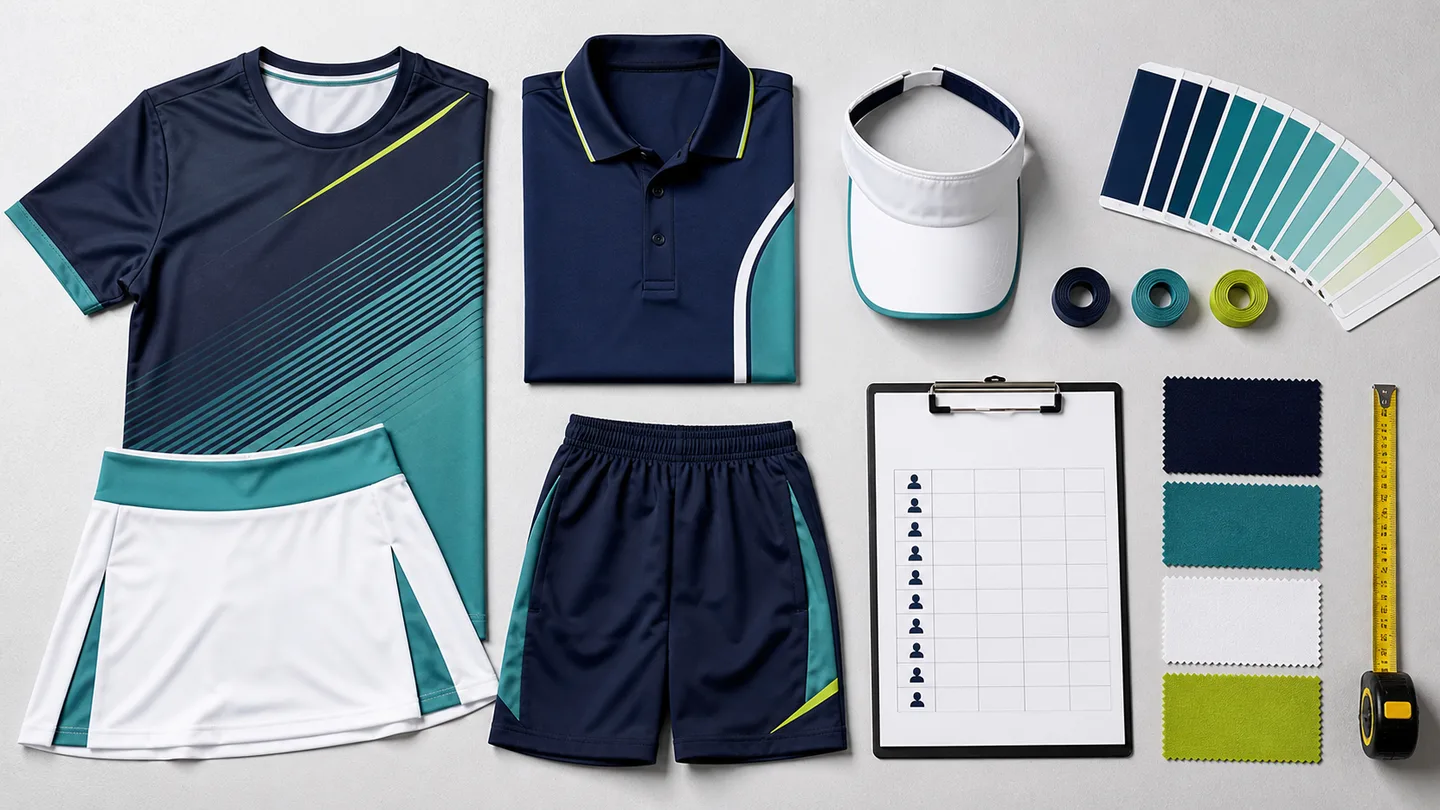
A pickleball uniform builder works only when the buyer supplies complete inputs. Before placing an order, lock five things: the roster and real sizes, design and colors, decoration method, required delivery date and a sample that has been inspected in person.
A “uniform builder” sounds like a software tool, and plenty of websites have one, but the real work of building a pickleball uniform is the decisions you make before the order goes in. The builder, whether it’s an online configurator or a conversation with a factory, is only as good as the information you feed it. This guide covers what to check at each step so your team set arrives on time, fits, and looks right.
What a Pickleball Uniform Builder Needs From the Team
The instinct is to flip through a catalog and pick shirts you like. Resist that at the start. Begin with your players because they define what the uniform needs to do.
Ask basic questions: Do you play indoors or outdoors? What season does your season run? How many players, and roughly what’s the spread of sizes? Do you need men’s and women’s cuts, or will a unisex garment work? Does anyone play in extreme heat or have fit preferences you should know about?
These answers change the specification. An outdoor summer team may prioritize light, breathable fabrics and headwear, while an indoor club may prefer a slightly more substantial hand feel. A mixed roster can offer men’s, women’s and unisex options when quantities and the product program allow. Custom pickleball skirts and skorts cover women’s bottom construction, while pickleball polo shirts cover collared tops.
The point is: the uniform should fit the team, not the other way around. If your supplier only offers one fabric and one cut and asks no questions, you’re probably getting whatever they had in stock.
Quantities and Sizing: The Numbers That Make or Break an Order
Sizing is where the most money gets wasted in team orders, because mistakes here mean exchanges, reprints, or players wearing the wrong size all season.
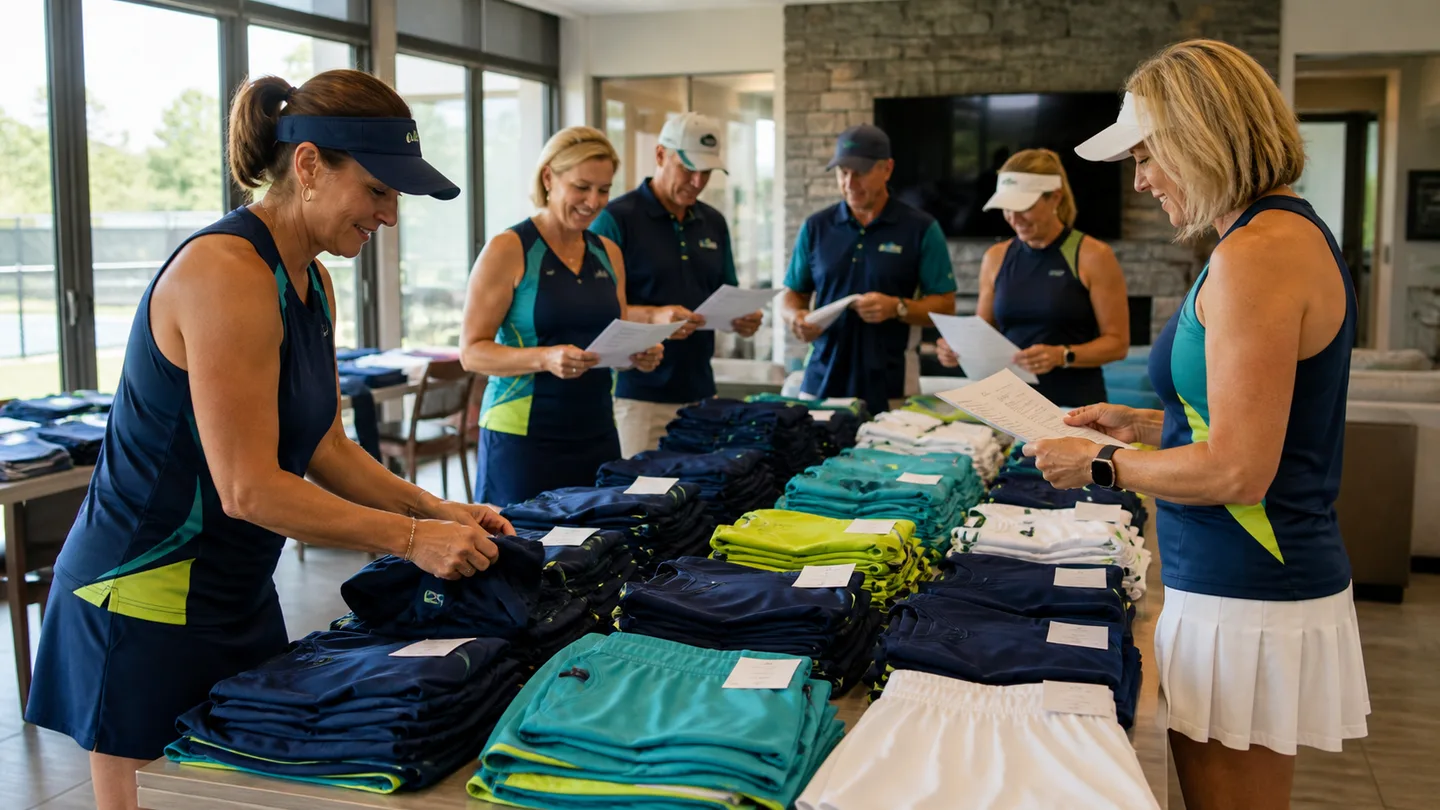
Don’t order a flat number of each size. Collect actual sizes from your players. The quick way is to ask everyone their usual size and then sanity-check it against the supplier’s size chart, which is rarely identical from one brand to the next. The better way, if you have time, is a sample set that people can try on before the bulk order.
A size chart from one manufacturer does not transfer to another. A “large” in one brand’s polo can match a “medium” elsewhere, and athletic cuts differ from relaxed cuts. Use the chart for the specific garment and ask the factory how the pattern measures.
Think about reorders from the start. Clubs add members, players lose or wear out pieces, and a team that expands mid-season wants the new kit to match the old. Ordering a few extra pieces up front, or at least confirming the factory can reproduce the same color and decoration later, saves a lot of hassle. Ask whether they keep your specs and dye lots on file.
Design and Color: Lock It Before Production
Design changes are the single biggest cause of production delays and mistakes. So the goal is to make every design decision before the order starts moving, not during.
Finalize your logo in a vector format – AI, PDF, EPS, or SVG. A low-res JPEG pulled from your website will come out blurry when it’s scaled for embroidery or print. If your supplier has to redraw your logo, that takes time and can change how it looks, so confirm early whether a redraw is needed.
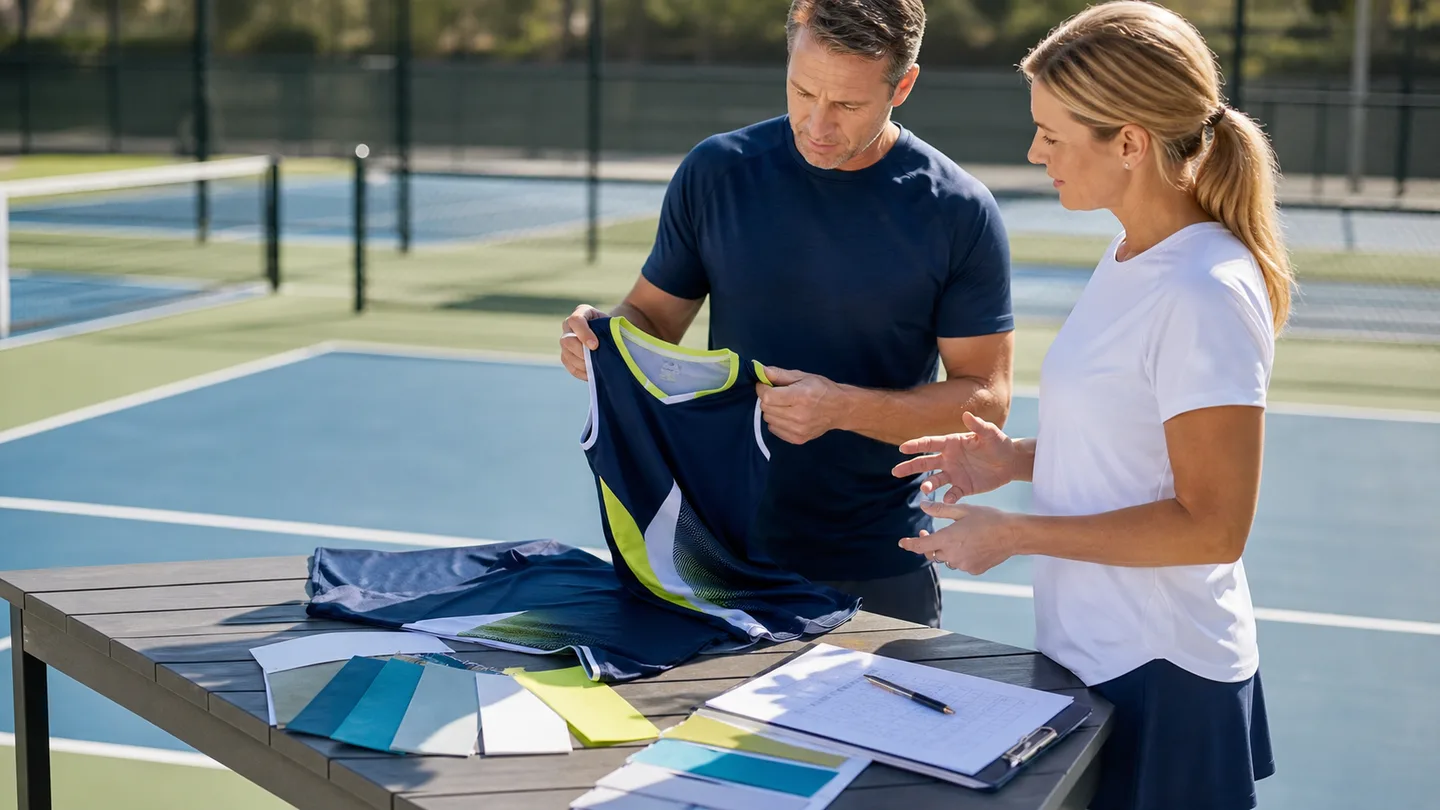
Decide colors against a physical reference, not a screen. Colors shift between monitors, and a navy that looks perfect on your laptop can print or dye noticeably differently. If you can, get a physical color standard or a sample swatch and approve against that. This is especially important if you’re matching existing gear or a brand palette.
Confirm placement and size of the logo on each garment, and note that placement often has to shift between garment types – a chest logo on a polo may sit differently than on a women’s skirt or a jacket. Walk through each item in the set and agree on exactly where the decoration goes.
Decoration: Pick the Method That Survives the Wash
The way your logo is applied has a bigger effect on how the uniform looks after a season than the logo itself does. The three main methods – embroidery, screen printing, and heat transfer – each have a place.
Embroidery is the premium, long-lasting option and the standard for chest logos on polos and jackets. It holds up to washing for years and reads as higher quality. Dense embroidery on light fabric needs backing, and tiny text can lose detail, so it’s not right for every logo.
Screen printing is the workhorse for larger graphics and is cost-effective across bigger quantities. It sits on the surface, so it can feel stiff on a stretchy knit and can crack over time if the ink and curing aren’t done properly.
Heat transfer gives full-color detail at low cost and is useful for small runs or complex artwork, but it’s the least durable and can peel after repeated hot washes.
There isn’t one right answer for every garment. A good factory will recommend a method per garment and per logo rather than applying the same thing everywhere, and they’ll be honest about durability tradeoffs. If every quote you get promises perfect full-color durability on every fabric with no caveats, ask harder questions.
Timeline and Reorders: What New Buyers Underestimate
New buyers often underestimate a custom order because development starts with the specification and sample rather than with finished stock.
Lead time depends on a few things: whether the fabric and color are in stock or need to be dyed, how complex the decoration is, how many garments and how many decoration placements, and how busy the production schedule is. A standard color in a stocked fabric ships faster than a custom-dyed color with multiple logo placements.
So work backwards from your event date. If you need kits for a tournament in six weeks, tell the supplier the date on day one and ask them to build the timeline around it. Leave buffer for sample approval, because shipping samples back and forth and getting sign-off from a committee takes real calendar time, not just production time.
Also plan for reorders before you need them. The worst time to find out a supplier can’t reproduce your exact color is when a new player joins and needs one matching shirt. A manufacturer that keeps your color standard, logo files, and decoration specs on file makes reorders a quick process instead of a new project.
The Pre-Order Checklist
Before you send the order, walk through this list. If you can answer every item, your order is in good shape. If any of them are blank, that’s the thing that’ll come back to bite you.
| Check | Why It Matters |
|---|---|
| Player sizes collected and matched to the supplier’s chart | Prevents a box of wrong sizes |
| Logo in vector format | Avoids blurry or redrawn artwork |
| Colors approved against a physical sample | Matches real life, not a screen |
| Decoration method chosen per garment | The logo lasts through the season |
| Event date shared, timeline built backwards | Kits arrive on time |
| Reorder plan confirmed with the factory | New players match the original team |
Building a team uniform is a series of small decisions, and the factory’s job is to catch the ones you didn’t know you needed to make. That’s the whole reason to work with a manufacturer that makes court apparel day in and day out rather than a reseller guessing at it.
If you are ready to build a team set, contact AX Pickleball with quantities, sizing and the required delivery market. The team draws on apparel manufacturing experience that began in 2008 and will confirm the final MOQ by product category. If you are still choosing individual pieces, start with pickleball polo shirts or custom pickleball skirts.